Select the type of Installation of Client, Choose the Administrator option as seen in screenshot below.
Give necessary details to the Software updates and Product language step and proceed to Installation location step. Proceed with default as seen below or give a custom location for the same.
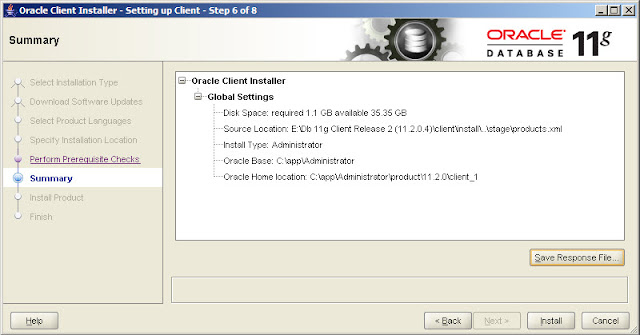
The installation will give a summary of the installation process before it starts. Save a response file for later reference of the installation.
Wait for Installation to finish.
 |
Now to check the installation, go to Run and type sqlplus
Check the header of the command prompt window to see the location of the sqlplus if this is from the client_1 folder then installation is successful.
See also: How to Install a 11g R2 Database Server


No comments:
Post a Comment