Follow the below steps to Install and configure an Oracle 11g R2 Enterprise Edition on Windows Server 2008. Run the setup.exe file inside the setup folder as administrator.
At the third step select 'Create and Configure a database' as shown in the below screenshot,

The next step is to select the system class for installation, choose server class since we are creating a server database. Refer screenshot below,

Since we are not going for a clustered installation select 'Single instance database installation'.

Select the type of Installation as Typical Install. Choose Advanced install if you want to particularly configure database to detail.

At the next step provide details such as directory location, database name, administrative password for SYS user etc and proceed. Refer screenshot below.

The installation will check if the environment meets minimum requirements for installation of R2 Server.

Before Installation step is started, a summary of the Installation will be displayed. It is recommended to save this Response file for future reference.

Installation will proceed and finish.

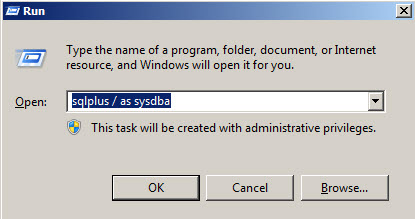
Once the Installation is complete, go to Windows > Run and type 'sqlplus / as sysdba' and click ok.
A new sqlplus command prompt will be opened and give a sample query to ensure that the database has been connected.

If at any step the Installation fails check the Oracle 11g Database logs to debug.
No comments:
Post a Comment